How to Connect QuickBooks to Veem
Once you have set up an account with Veem, you can connect to QuickBooks to make seamless bill and invoice payments. To connect your QuickBooks account to Veem, please follow the steps below.
Step 1: Log in
Step 2: Click on Settings in the lefthand sidebar
Step 3: Click on the Integrations tab.

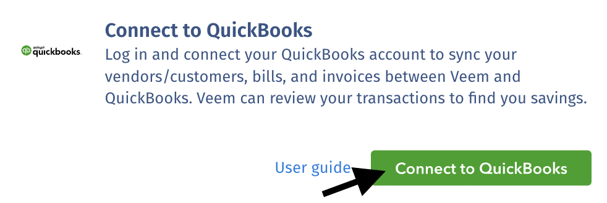
Step 4: In Integrations, you'll see Connect to QuickBooks.
Step 5: Click Connect.

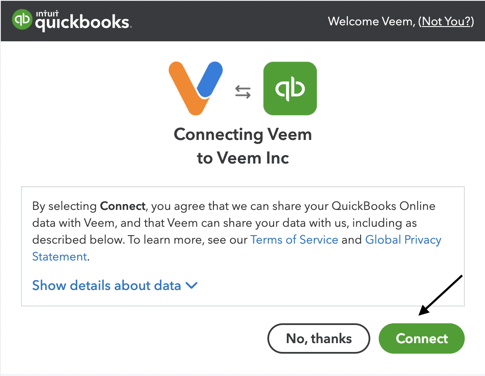
Step 6: Next, sign in to your QuickBooks account using your QuickBooks credentials. If you do not currently have a QuickBooks account, you can sign up for one here.
Step 7: Authorize the sharing of your data between Veem and QuickBooks by clicking "Connect."

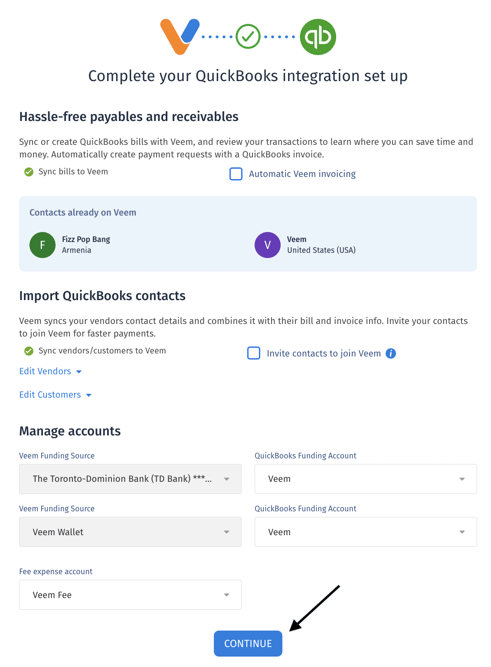
Step 8: On the next page, make any necessary adjustments. You can choose to add your funding source, import QuickBooks contacts, and/or invite your clients to join Veem. Once you're done, click "Continue."

Step 9: You will then be brought to a new QuickBooks tab on your Veem dashboard.
And that's it! Your Veem account is now fully connected to QuickBooks.
Learn more about the Veem and QuickBooks integration here.
Still need help? You can chat or call our Customer Success team here.