To connect your Xero account to Veem, please follow the steps below.
Step 1: Log in to your Veem account.
Step 2: Enable 2FA on the account.
Step 2: Click on Settings in the lefthand sidebar
Step 3: Click on the Integrations tab.

Step 4: In Integrations, you'll see various integrations that you can opt to integrate with your Veem account.
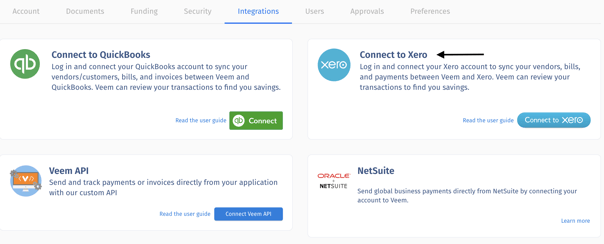
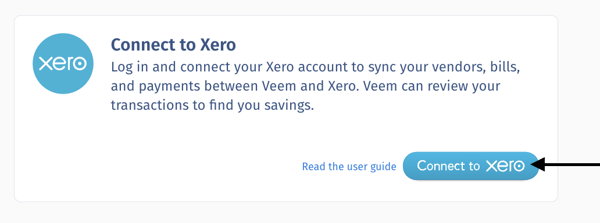
Step 5: Navigate to the Xero section and click "Connect to Xero".
Step 6: Using your Xero login credentials, log in to your Xero account to connect your account.
-2.png?width=320&height=259&name=mceclip2%20(1)-2.png)
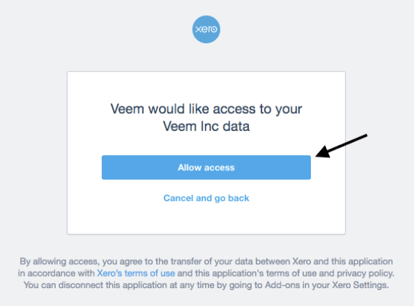
Step 7: Once you log in, you'll be asked to grant Veem access to your Xero account. Authorize the sharing of your data between Veem and Xero by clicking "Allow access."
Step 8: Once it's connected, you'll be brought to a new Xero tab on your Veem dashboard.
-1.png?width=688&height=245&name=mceclip3%20(1)-1.png)
That's It! Your Veem and Xero accounts are now connected! When you create bills in Xero, they'll be automatically transferred to Veem so you can easily process your payments.
To learn how to pay your bills, click here.
Still need help? You can chat or call our Customer Success team here.