To send checks to vendors, clients must add them as new contacts. Once the contact has successfully been added to the Veem account, check payments can be sent to them. To learn how to do this, please click here.
After adding the new contact:
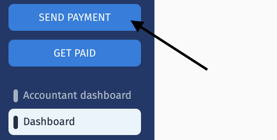
Step 1: From the dashboard, please click on the "Send Payment" button on your dashboard's left side.
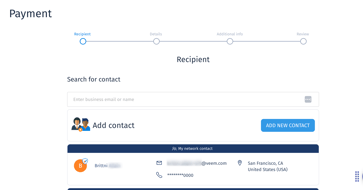
Step 2: Then start by entering the contact's email address. Since the contact is already set up, their contact information will populate automatically; then click on the contact.
Step 3: On the next page, please fill in the payment details:
- The amount you're sending
- The receiving currency
- Note: The receiving currency is automatically set as USD for check payments.
- Date of the payment
- Purpose of payment
- Purpose of payment description (A detailed description of the purpose of payment)
- This field is important as this information will be displayed on the check. The invoice number can be included here as well if you need it.
- Please note that no more than 50 characters can be entered in this field.
Step 4: If additional clients need to be CC'd or any notes that may need to be included for the receiver, click "Additional Information" to add additional information for the payment, i.e., the invoice number.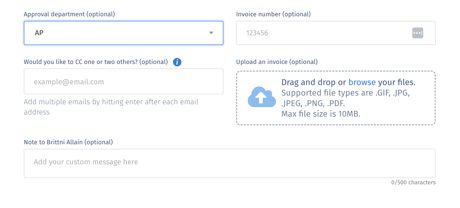
Step 5: Once all the details are included, please click the "Review" button to review the payment and click "Submit Payment."
That's it! The receiver will be notified via email once the payment has been sent, and they'll receive a check in approximately 5-10 business days from the date the payment was initiated in the mail instead of the standard Veem ACH payment.
The recipient can change this anytime by entering their bank information when creating a Veem account.
Still, need help? You can chat or call our Customer Success team here.