Step 1: Please Log in to your Veem account.
Step 2: Please click on Transactions on the left-hand side of the dashboard.
Step 3: Under transactions, please click on the "Invoices" tab

Step 4: Then, on the invoice tab, you'll be able to view the first recurring invoice created and the next scheduled invoice,
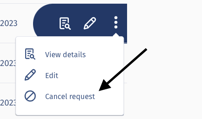
- To cancel all the scheduled recurring invoices, please look for the next scheduled invoice (with the status "scheduled"). Right beside it, please click on the 3 dots to view the options.

Step 5: Please click on the third option to "cancel request"
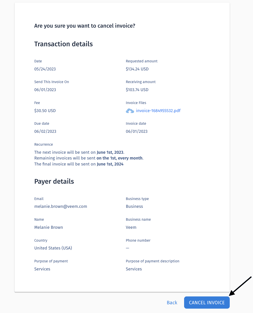
Step 6: On the next page, please click on the button to "Cancel Invoice"
Please keep in mind that this option will NOT cancel any recurring invoice that has already been submitted (with the status "sent").

Also, canceling the initial recurring invoice submitted with the status "sent" will NOT cancel all the recurring invoices.

NOTE: - The option to cancel the invoice will only be visible to the recipient sending the invoice.
- Only unclaimed invoices can be cancelled.
That's it! You'll be redirected to the dashboard and will receive a popup notification advising that the invoice has been cancelled. The invoice status will also change to "Cancelled" in the Transactions view.
Still need help? You can chat or call our Customer Success team here.